Wednesday, November 30, 2011

Panko Crusted Mashed Potato Pancakes


I made these little gems from our Thanksgiving mashed potato leftovers and they were delicious.  We had them with breakfast, but you can eat them with any meal. 

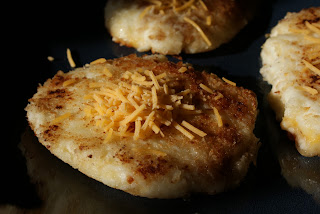
The are crispy on the outside....


And creamy on the inside...


100% yummy and a snap to make!

The trick to these little guys is Panko bread crumbs.  If you haven't tried them, YOU MUST.  They are amazing!  Super crunchy and flakey.  I stopped using the regular bread crumbs.
 

Take your left over mash and make it into patties. I had left over baked mashed potato casserole with all sorts of yumminess inside and cheese on top.   The mashed potatos need to be cold.


 Pour the Panko into a bowl and dredge the patties on one side, flip and repeat. 
I didn't use an egg wash as the panko stuck easily to the patties.


All coated and ready for the pan.


I just dropped a pat of butter in a pan.  I could have used spray or oil, but let's face it, butter makes it better.
 (yes, I said that in a Paula Deen voice)


A few minutes on the first side, until it's nice and golden brown, flip and repeat.


Mmmmmmmm!


Plate and add a bit of cheese on top!  Perfecto!


Jaime loved them and ate 3.  :) 

Think of the possibilities to serve with butter (tee hee), bacon, sour cream, gravy....

Hope you enjoy these as much as we did. 


Photobucket

Sunday, November 27, 2011

Jingle Door Bells, Two Ways


I love the sound of jingle bells.  It's a sure sign that Christmas is on the way.  I mean, there were bells on Bobtail, and bells when angels get their wings.   Definitely Christmas.   

I have a set of bells for my front door, but they have seen much better days.  Kinda sad, not happy jingles.   Anyway, I wanted a new set of bells that was updated and more my style.  I wanted them to be sturdy with a 4 and a half year old and puppy running around.  However, being a working mom, I wanted something quick and easy.   I figured I try this craft using two methods; sewing and hot glue.  This is what I came up with:


I really love how they came out and they make me super happy!

Here are the details for the sewed version. 

The supplies; fabric, ribbon, a key chain loop, and bells.


From the fabric, cut 2 rectangles 18 inches long and 4 inches wide.  Flip over the pieces so that the pattern is facing eachother (right sides in).
        

Sew the long sides of the rectangle, turn the sleeve right side out with your fingers, and iron flat.


Take each end and fold it once and iron flat then fold again and iron.  It should look like this when done.


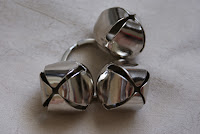
Loop your bells through the key chain.  I wanted a total of 4 for the finished project, but wasn't able to sew with all, so I started with 3.   Next, loop the bottom of the fabric through the key chain and sew.  


For the top of fabric, just sew along bottom of the fold to create a pocket.  Cut your ribbon to length and thread through the pocket.   Then embellesh as you like.  I added these cute fabric flowers I made a few months ago.  I also added the fourth bell for a fuller look.  


 Lastly, add it to your door.  Isn't it pretty!!! 


For the hot glue version, I used wide ribbon instead of fabric and hot glued where I sewed above.  Easy Peasy.  The possibilities are endless.  All sorts of ribbon and embellishments, make it shorter, longer, multileveled, whateve's.


Photobucket

Friday, November 25, 2011

Playdate and Pinterest Edible Paint Craft


Say that title five times fast.  I took a vacation day today from work to get in a nice looong weekend.  Sorry, you won't find me out at the crack of midnight looking for deals.  I mean, I want to, but I am way to lazy to drag my tired butt out of bed.  It is way to warm and comfy.  I'll wait til Cyber Monday.  :)

So what else could I do that did not require going to a store?  I invited my friend and her little man over for a playdate.  The boys are the same age and are partners in crime.  In the span of 5 minutes you will hear hugs, laughter, fighting, crying and making up.  Repeat. 

The boys have no problems entertaining themselves, but I figured having a craft handy would mix things up for them.   I had all of the ingredients for this craft.  Then, I remembered this one I had pinned on Pinterest as well.   I set up the ingredients and let the fun begin.

Here is my muffin tin filled with a tablespoon of sweetened condensed milk and a tablespoon of water each.   You can see I started with the green food coloring on the right.   That was 2 drops of gel food coloring.


Here are all the colors ready.   My friend and I had a laugh remembering how to mix primary colors.  It sore of went "Yellow and blue make orange."  "No that's yellow and red."  "But we don't have red, we have pink"   "I guess we are making peach."  LOL


Here are the boys scoping out the goods, marshmallows and popcorn.  I figured they could have a snack and do a craft at the same time.  Giant marshmallows are my son's new fav. "Sooo much better than mini marshmallows, Momma."


Diving in.


Devouring their creations.


The finished product, or what was left over.   The boys dipped the popcorn in the colors then popped them in their mouths.  I never got a picture.  They then took the Easter egg approach and then dunked the marshmallows as well.  The marshmallows dried nice and shiny.  I can't wait to decorate some myself.  


The verdict?  This craft was really fun and really like the fact it was edible. It is a bit sticky, but a snap to clean up.   It allowed my friend and I 30 minutes of uninterrupted chatting time while we watched "A Very Gaga Thanksgiving" (LOVED IT!) that Jaime DVR'd. 


Photobucket

Thursday, November 24, 2011

Happy Thanksgiving!


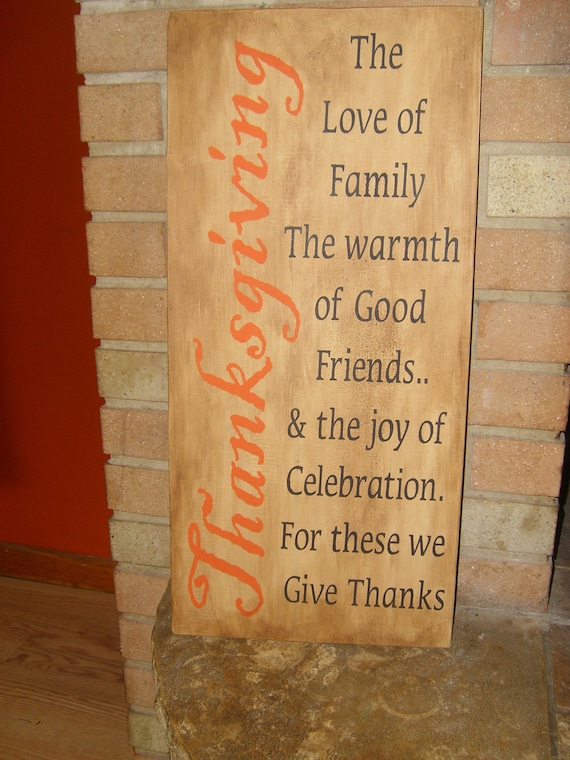
I hope everyone is enjoying their day, spending it they way they would want, and being truly thankful.   I found this beautiful sign here and wanted to share. 


Have an amazing day!


Photobucket

Sunday, November 20, 2011

Fresh out of the kiln - Recycled Bottle Dish


In my last post you saw me fire up my kiln.   I wanted to show you all what came out!

It is always so exciting to open up the kiln 8+ hours later to see what you created.  I feel it's like Christmas morning. 

Here we are all done and cooled down to room temperature.   If you were wondering, the kiln went up to 1495 degrees F to slump the bottle.


Taking a peek at my surprises!


Everything came out looking good!  The blanks will need some tweeking, however the bottle is PERFECT!   Glass is a finicky medium and it likes to do whatever it wants.  Which is why opening the kiln is always a surprise.   Here is the final project.


All that is left to do is add the finishing touches (aka BLING).  I move up to my craft room/office for this part.  I love the light in this room.


First add some clear bumpers to the back of the bottle/dish.   These are the ones I normally use (the smaller ones on the side.)


Here that are all placed.  You can even still read the "Luna di Luna" logo on the back of the bottle.


Next up is flipping over the bottle and adding a the bling.  You can emblelish the bottle with lots of things; wire, glass beads, paint.    For this bottle, who a friend asked me to make, I'm adding a dichroic glass cabachon that I also made.   Dichroic glass is so cool, it is extremely sparkly (which I loooove), but it also changes colors.  Here is the cab.


I added it to the neck of the bottle with a bit of E6000 and wait for it to dry.


Last up is adding a cheese knife and ribbon. 


Tada!  I normally make these as gifts, and they make great cheese or hors d'oeuvre  plates at parties.   As and added plus, I thoroughly enjoy the first part of making these, drinking the wine. :)


Photobucket


Featured at:

Positively Splendid


Linking up to: